
Guide
V Rising: How to remove the ground
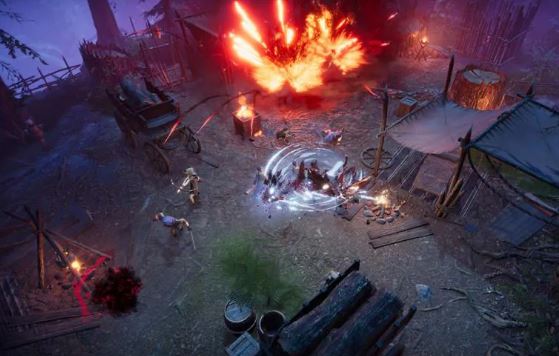
Do you want to remodel your castle and you don’t know how to do it? Calm down, because we teach you how to remove the floor from a V Rising structure.
V Rising is one of the most successful games on Steam. Survival games have been experiencing a second youth for a couple of years now, and the presence of vampires only makes this mix even cooler.
The essence of V Rising is to survive and build a huge castle or fortress. This will take us practically the entire game, and it is possible that at some point we want to modify some structure of our brand new castle.
To do this, it is necessary to remove the soil (the foundation) of said structure. The problem is that we can’t always do it… and the game doesn’t explain it to you as such.
Fortunately, we are going to talk about this feature below so that you can modify a structure in a few minutes. This is our guide to V Rising: How to Remove the Floor.
How to remove the floor
It is very possible that, at some point, you will want to change a certain structure of your castle in V Rising. This is essential in any survival game, and Stunlock Studios’ title is no exception.
Of course, you should know that removing a floor is not as simple as it seems. In order to do so, you will have to make sure that said structure is not connected to another, otherwise, the entire construction will collapse.
The first thing we must do is check if the floor we want to remove (a floor) is in contact with a wall or pillar. If so, we will NOT be able to remove said soil.
Otherwise, just press the space bar (a keyboard shortcut), which will activate the dismantle structure-function. We can also press the B key.
Of course, if the floor or floor you want to remove is connected to a wall or column, you will first need to remove that connection. If you have already done so, we are going to proceed to discard this structure to give our castle a change.
To dismantle a floor in V Rising, you need to tap on the hammer icon. This is located on the right side of the screen, which will open a dropdown with the game’s construction interface.
Next, place the cursor on the structure you want to delete, and then press the B key or the space bar on your keyboard. This will automatically be discarded and a certain amount of money will be refunded to you.
Be careful, you will never get 100% of what you invested in said structure (based on the materials and objects used). This is very common in other management or survival games: you will be given a proportional share.
Once you delete this structure, you will see that the cursor turns yellow instead of the previous red color. You just have to repeat the process with all the objects, walls, pillars, or floors that you want to eliminate in your castle.
You may not know that this feature can also be used to remove the walls of your castle. This is very useful if we want to change the location of our castle or move the heart to another structure in V Rising.
V Rising is available for PC via Steam. The vampire survival game has sold more than 500,000 copies in its first week, so don’t hesitate to give it a try.


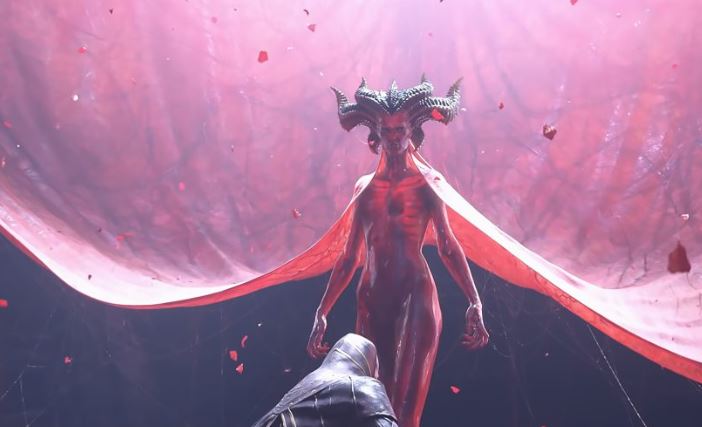
Are you ready for the highly anticipated release of Diablo 4? This darker and bigger installment of the legendary dungeon crawler is set to hit the shelves on June 6. Early beta tests have already showcased its potential to become one of the best games of the year. Dive into the abyss of Sanctuary as you confront the menacing forces of heaven and hell in a battle for humanity.
Release Date
Mark your calendars for June 6, when Diablo 4 will be available for all gaming enthusiasts. However, if you preordered the Deluxe or Ultimate edition, you’re in luck! You can start playing on June 1 at 4 p.m. PT, giving you a head start on the epic adventure.
Available Platforms
Diablo 4 will be released on multiple platforms, including PC, PS4, PS5, Xbox One, and Xbox Series X and S. No matter your gaming setup, you can join the battle against the forces of evil. The game will be priced at $70, delivering an unforgettable gaming experience.
PC Requirements
To ensure a seamless gaming experience on PC, make sure your system meets the minimum requirements:
- Operating System: 64-bit Windows 10
- Processor: Intel Core i5-2500K or AMD FX-8350
- Memory: 8GB RAM
- Graphics: Nvidia GeForce GTX 660 or AMD Radeon R9 280
- Storage: Solid-state drive with 90GB available space
For optimal performance, Blizzard recommends the following specifications:
- Operating System: 64-bit Windows 10
- Processor: Intel Core i5-4670K or AMD R3-1300X
- Memory: 16GB RAM
- Graphics: Nvidia GeForce GTX 970 or AMD Radeon RX 470
- Storage: SSD with 90GB available space
Classes in Diablo 4
Prepare to choose from five dynamic classes in Diablo 4, each with unique abilities and playstyles. The available classes are Barbarian, Rogue, Sorcerer, Druid, and Necromancer. Experiment with different classes to discover your preferred style of demon-slaying.
The Storyline
Delve into the depths of Diablo 4’s storyline, where players confront the horde of monsters under the influence of Lilith, the daughter of Mephisto. Lilith, also known as the “Mother of Sanctuary,” seeks to spread her evil across the world. As a player, it’s your duty to stand against her forces and save humanity from impending doom.
Microtransactions
Diablo 4 will include microtransactions; however, Blizzard has assured players that they will be limited to cosmetic items. You can enhance your character’s appearance with various customization options, but the core gameplay experience remains intact.
Immersive Gameplay
Diablo 4 takes the franchise to new heights with its expansive and darker world. Sanctuary is divided into large regions, further divided into smaller zones. Explore open areas teeming with monsters, interact with merchants in towns, and embark on side quests. Prepare yourself for an array of challenging quests that will take you to the farthest corners of Sanctuary, requiring you to defeat enemies and bosses in treacherous dungeons.
The game features diverse dungeons with varying lengths and difficulties. Some may be quick and intense, while others can be lengthy and demanding. Discover hidden landmarks and brace yourself for overworld events that unleash waves of gruesome enemies upon you.
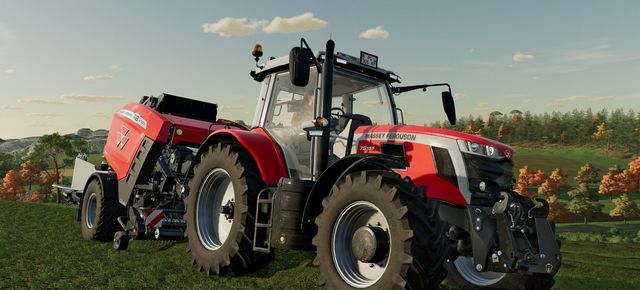
Farming Simulator 22, the latest installment in the popular farming simulation game series, has received a new update that adds free Massey Ferguson machinery to the game. The update, which is now available for download, includes a total of five new machines from the famous agricultural equipment manufacturer.
The Massey Ferguson machinery that has been added to the game includes the MF 8S, MF Activa 7347 S, MF TW 35, MF 4300, and MF 356 Loader. These machines have been carefully recreated in the game to offer a realistic experience for players who are passionate about farming.
The MF 8S is a powerful tractor that is designed to handle heavy loads and comes with a variety of attachments to help with different farming tasks. The MF Activa 7347 S is a combine harvester that can handle a large amount of crops and is perfect for players who want to harvest their fields quickly and efficiently.
The MF TW 35 is a reliable tractor that is ideal for plowing, tilling, and cultivating. The MF 4300 is a versatile tractor that can be used for a wide range of tasks, including hauling heavy loads and powering farm machinery. Finally, the MF 356 Loader is a useful attachment that can be added to a tractor to help with tasks such as loading hay bales and moving pallets.
Farming Simulator 22 has been praised for its realistic portrayal of the farming experience, and the addition of Massey Ferguson machinery only adds to the game’s authenticity. The game offers players the chance to experience what it’s like to run a farm, from planting and harvesting crops to managing livestock and selling produce.
The update is available for all platforms, including PC, PlayStation, Xbox, and Google Stadia. If you already own the game, you can download the update for free from your platform’s store. Alternatively, if you’re new to the series, now is the perfect time to dive into the world of farming simulation and try out the latest edition of the game.

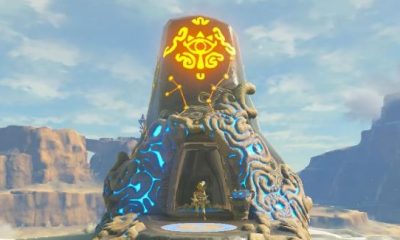
A new theory about the next Zelda game has recently emerged, and it suggests a link between Ganondorf and Thanos, the Marvel villain.
This theory comes from a Reddit user who analyzed the trailer for Zelda: Tears of the Kingdom, which was revealed at the last Nintendo Direct. According to the user, there are some similarities between Ganondorf and Thanos, such as their similar appearance and the fact that they are both seeking ultimate power.
The theory goes on to suggest that Ganondorf is looking for the Triforce in order to obtain ultimate power, just like Thanos sought the Infinity Stones to achieve his goal. The user also notes that there are some similarities between the Triforce and the Infinity Stones, as both grant immense power to their wielder.
The theory concludes by suggesting that, just like Thanos in Avengers: Infinity War, Ganondorf will succeed in obtaining the Triforce and will use it to achieve his ultimate goal, whatever that may be.
Of course, this theory should be taken with a grain of salt, as it is based solely on the observations of one Reddit user. However, it is an interesting idea that adds an extra layer of intrigue to the upcoming Zelda game.
-

 News2 years ago
Details emerge on the length and difficulty of Pokémon Legends: Arceus
-

 Guide2 years ago
Stray: Finding Levers (in the nightclub)
-
 News12 months ago
Confirmed: What Has Happened to Shrines in Zelda: Tears of the Kingdom
-

 News8 months ago
Bethesda defends empty planets in Starfield: “The Moon is also empty, but astronauts didn’t get bored
-

 Guide2 years ago
FIFA 23: All Celebrations on NINTENDO Console
-

 News9 months ago
Nintendo wants to patent mechanics from Tears of the Kingdom, including transition during fast travel
-

 News2 years ago
The Prado Museum opens its doors in Animal Crossing: New Horizons and you will be able to include its works on your island
-
 General3 years ago
Horizon Forbidden West: There is no point in paying twice for the same game